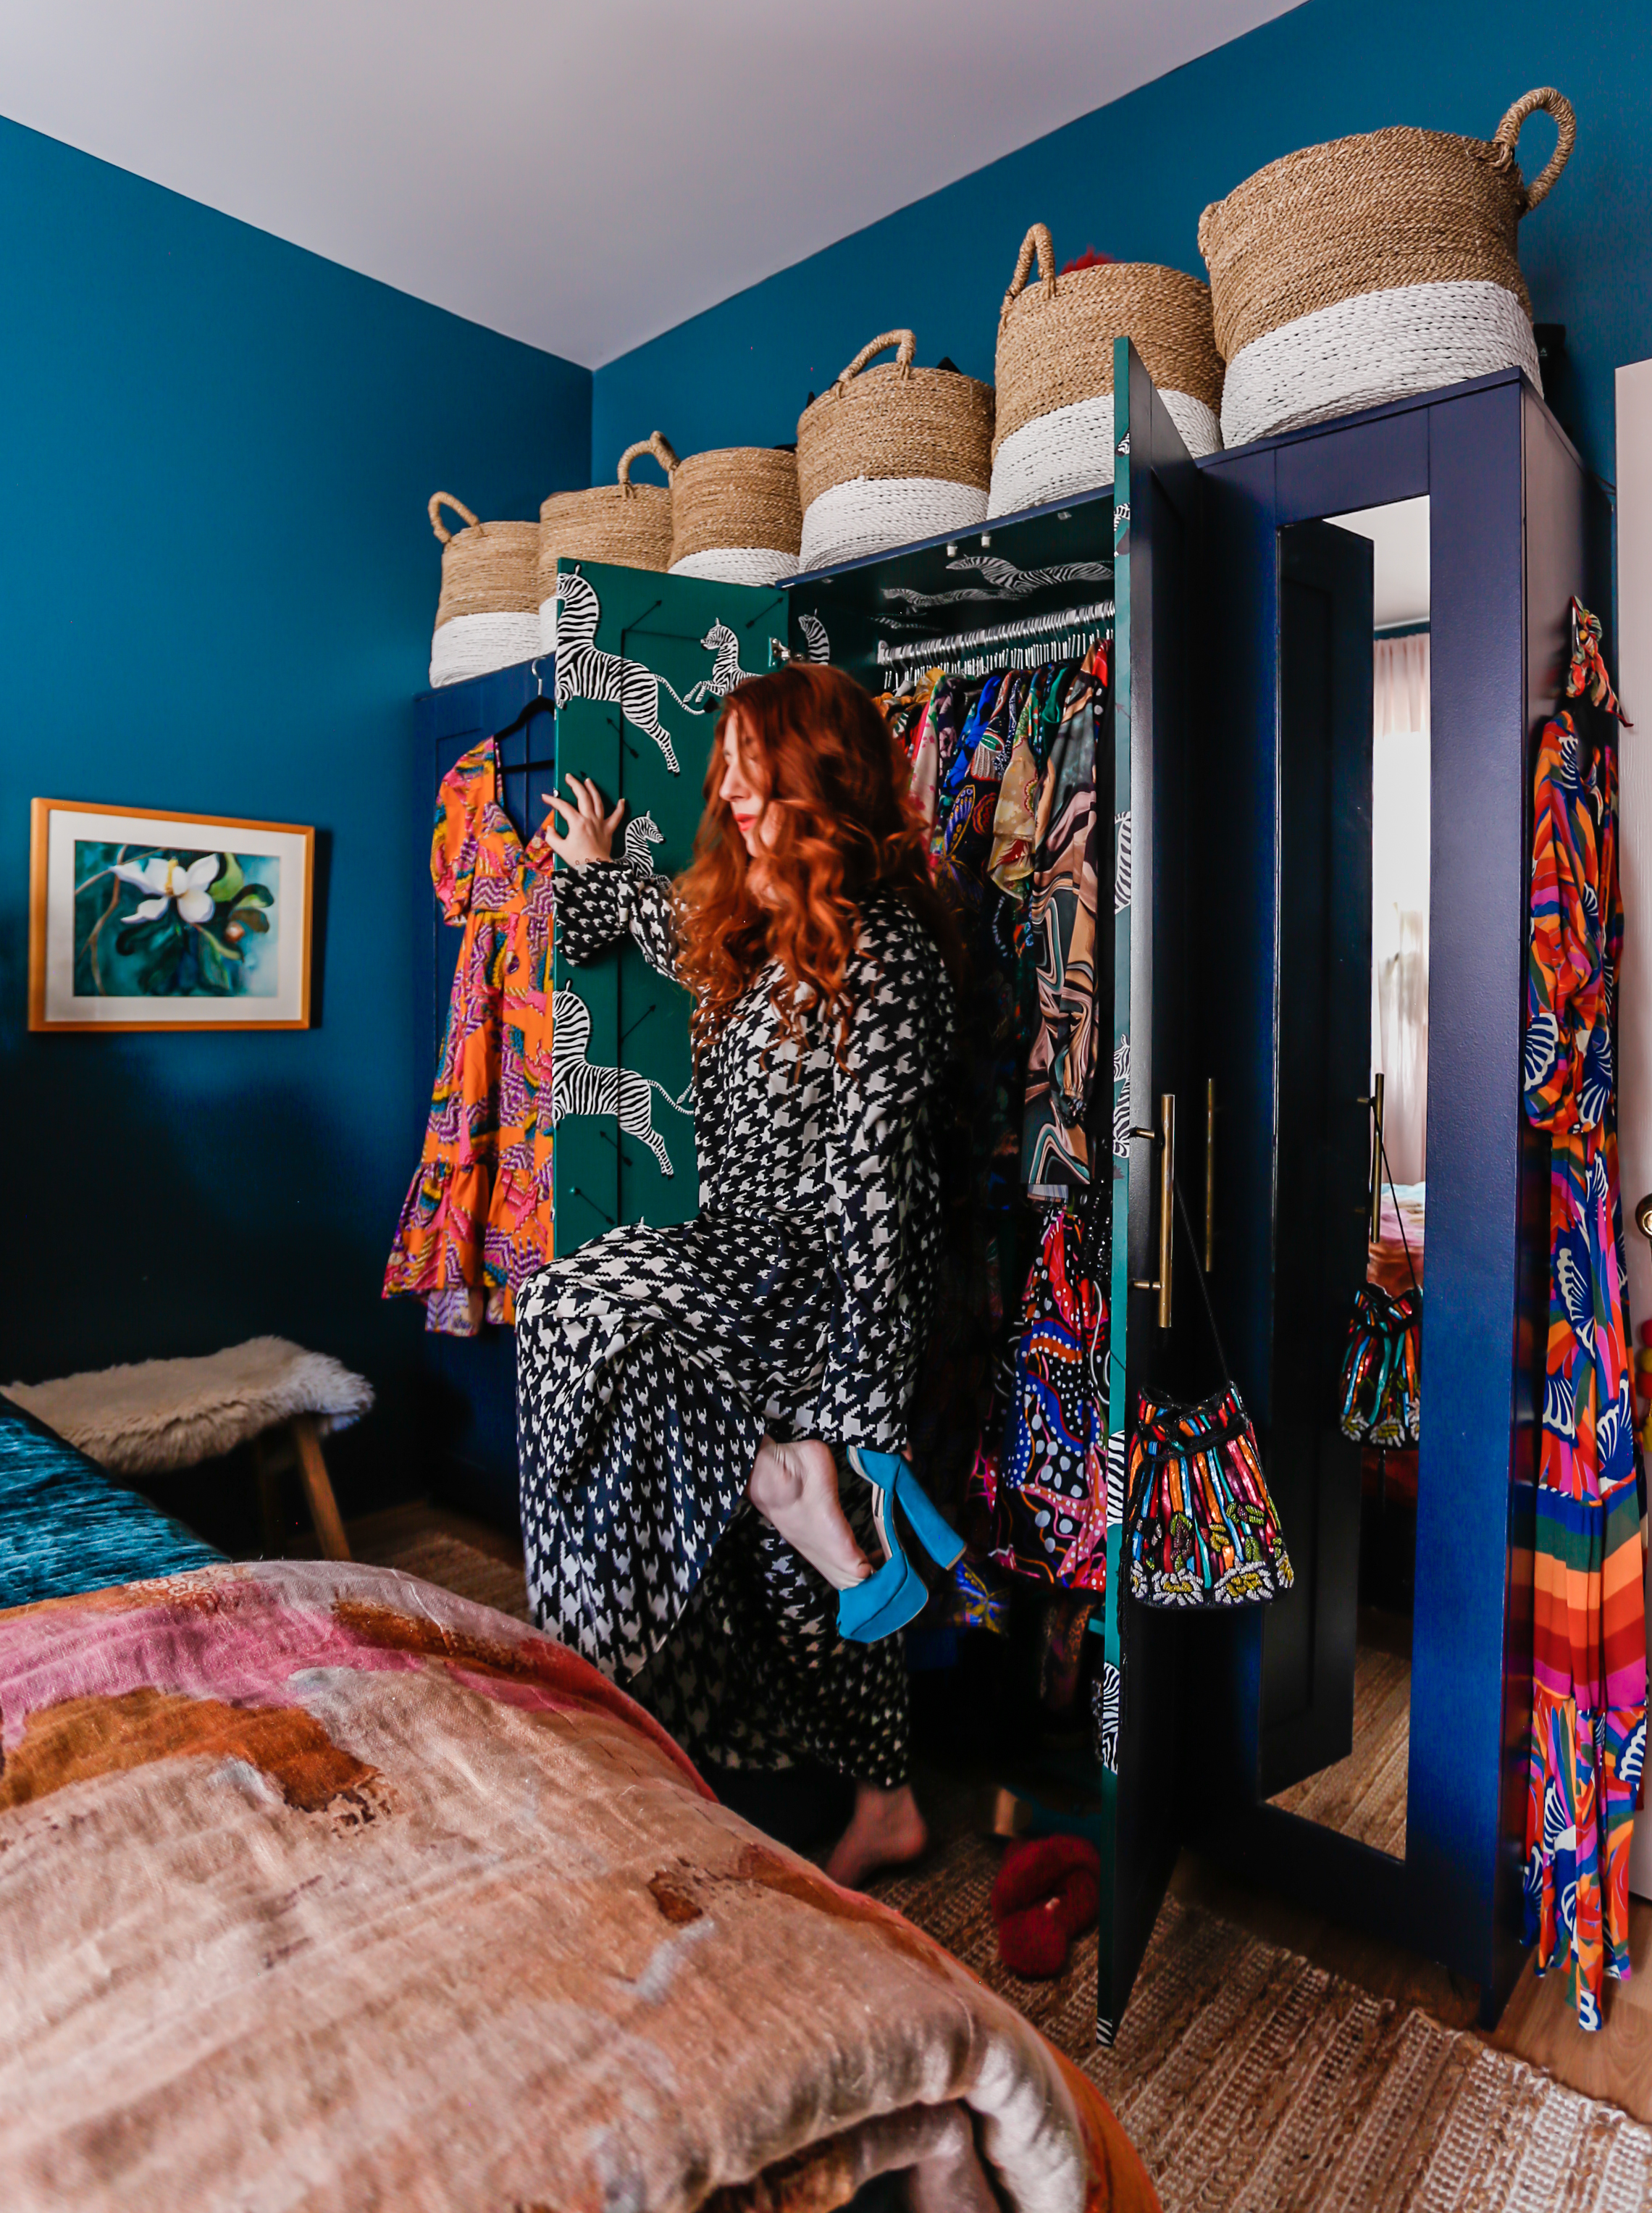
I love my Ikea Brimnes Furniture.
It's affordable, functional and has held up pretty darn well against the ages of time. Or in my case, the wear and tear of my kids and myself being not so gentle on furniture. I'm amazed they're still standing and in good condition. Which is why they're a pretty solid choice for Ikea furniture on a budget and for small spaces.
My only complaint is that it's a bit boring to look at, right? I mean you have the option of white or black. Sure, that's fine, it's a great blank canvas but sometimes you want to zhuzh it up a bit or give it your own personal touch. Lucky for you, I've been personalizing the decade old wardrobes for what seems like forever so I have lots of tips and tricks on how to personalize it to make it your own!
Starting with the simplest touch. Hardware!
A hardware swap is usually the cheapest and easiest swap and I have lots of ideas on how to pick the right pieces for your wardrobe and even your bed. Nearly 10 years ago there weren't very many options because of the awkward sizing from hole to hole so I had to customize my own (here). Now, there's way more options for the 6 1/4 length.
Next, Painting!
Yes, you can paint Ikea Furniture and I'm going to tell that the difference between a total disaster and a huge success lies on the right primer! You want to start with two coats of Shellac based primer. I love BINS. After you let you primer dry, usually it only takes and hour you're going to want to use a small foam roller in the color of your choice to coat the wardrobes. If you want to use a sprayer to paint it, go ahead but honestly hand painting isn't too terrible. I highly suggest you use a flat paint because it REALLY conceals flaws. I originally started with the gorgeous navy, Goodnight Moon by Clare for my moody bedroom setup. It was fabulous.
Then fast forward a few years later I wanted a teal green to match my wallpaper and made the huge mistake of going semi gloss over a slightly already flawed wallpaper job (see below). But it was instantly fixed when we pivoted to a flat paint and you can't see a single flaw.
See the difference between semi-gloss and flat paint on the wardrobes.
Semi-Gloss
Flat Paint
Yes, you can Wallpaper them too!
I started with wallpapering the inside of my wardrobes for a color pop with peel and stick wallpaper. Fun clothes need a fun wardrobe, right? It was a little tricky lining everything up in the tight space but I will say the key is to cut the pieces for the door space/gap inside the doors for a more flawless finish. You basically want to lay two strips of paper for the door and layer it in and line it up to the pattern.
We also wallpapered the outside of the wardrobes! And that was a trickier project, by our design. We made it way more complicate than it needed to be. First off by, filling in the gaps and trying to make the entire door front smooth with mdf board and sparkle. Looking back, really all we needed to do was cardboard and maybe tape to fill it in. We completely overcomplicated it and it was revealed that in our case even with lots of sanding our spackle job may have looked smooth on the doors but it was not. However, I will note that the wallpaper we chose did us zero favors on hiding a single flaw because one: it was a super shiny light colored metallic finish and two: it was very thin even though it was high quality paper. So in some light it looked bubbly and less than perfect. If were to do anything different I would just keep it simple and either fill it with cardboard and tape or just not care about filling in the gap. I still love the wallpaper and think it's fabulous. It really made the wardrobes look like custom chinoiserie built ins and it was perfect with the baskets on top!
Also, Appliques!
Several months after our wallpaper wardrobe transformation we ended up moving to a new place and only one wardrobe ended up fitting into our bedroom. The other one is thriving in storage. BUT, with a new home comes new decor choices and I decided that our bedroom needed to be a full wall to wall under the sea mural. Naturally, that instantly clashed with the metallic green tropical wardrobes. So it was time for another wardrobe change! So instead of tearing the paper off I was like what if we paint it? Well, that was a choice. Turns out my semi-gloss on top of the metallic wallpaper didn't do it much justice. So, naturally I panicked and tried to hide it WITH APPLIQUES! I had a bunch of wooden appliqués left over and was like what if I glued these to problem areas to distract from well, the mess. I loved the idea until I painted over it with semi-gloss. It wasn't terrible but it wasn't much better so I pivoted once again to flat paint and all was revealed to be PERFECT. So yeah, definitely love the idea of appliqués to jazz up the wardrobes to make it look more custom.
Another note: I used the shellac primer over the wallpapered wardrobes before painting and I haven't had a single chip.
All that said I hope this inspired you to get a little creative with you Ikea Brimnes Wardrobes and also learn from them mistakes before embarking on a project of your own.


Post a Comment